Transitioning Legacy Projects to Next.js SaaS
Transitioning Legacy Projects to Next.js SaaS
In the ever-evolving landscape of web development, legacy projects often require substantial effort to adapt to modern standards. One of the popular frameworks gaining traction among developers is Next.js, a React-based framework that offers server-side rendering, static site generation, and a plethora of features that enhance performance and user experience. This blog post aims to explore the process of transitioning a legacy project to a Next.js SaaS (Software as a Service) application, discussing the benefits, challenges, and strategies you can employ to make this transition as smooth as possible.
Why Transition to Next.js?
1. Improved Performance
Next.js provides automatic code-splitting and optimized prefetching, which can significantly boost the application's load time and performance. By minimizing the amount of JavaScript sent to the client and loading only what's needed for each page, applications can run faster, which is critical for user retention and SEO rankings.
2. Enhanced Developer Experience
With its built-in support for TypeScript, a hybrid static & server rendering model, and a rich ecosystem of plugins, Next.js can enhance developer efficiency. Features like API routes, automatic routing, and the ability to create server-rendered components lead to a more streamlined and intuitive working experience.
3. Scalability
As your SaaS application grows, so do the demands placed on it. Next.js supports scalable architecture, enabling you to handle increased traffic and larger datasets with ease. The framework’s built-in support for serverless functions means you can focus on building features without worrying about infrastructure headaches.
4. SEO Advantages
Search engine visibility is crucial for SaaS products, especially in crowded markets. Next.js offers server-side rendering (SSR), which delivers complete HTML to search engines, ensuring that your content is crawlable and indexed properly, leading to better organic search performance.
Assessing the Legacy Project
Before diving into the process of transitioning, it's crucial to conduct a thorough assessment of your existing legacy application:
1. Identify Dependencies
Document all dependencies your legacy application relies on. Understanding the libraries, middleware, and services currently in use will help you determine what can be replaced or updated during the transition.
2. Evaluate Functionality
Make a list of all functionalities currently offered by the legacy project. This includes user authentication, data management, and third-party integrations. It will serve as a baseline for what needs to be preserved or improved upon in the Next.js application.
3. Analyze User Experience
Gather feedback from your users to illuminate pain points or areas for improvement. This will drive the design decisions you make in the new SaaS application and maximize user satisfaction.
Transitioning to Next.js
With a robust understanding of the current state of your legacy project, you can begin the transition process. Below are several key steps to take:
1. Setting Up the Next.js Environment
Start by creating a new Next.js application using the command:
npx create-next-app@latest your-app-name
This command will scaffold a new Next.js project with default configurations. Familiarize yourself with the directory structure and how Next.js handles routing, pages, and API routes.
2. Migrating the Frontend
Break Down Components
Refactor the legacy UI into modular components. Since Next.js is based on React, you will benefit from the component-based architecture. Aim for reusable components that can be shared across different parts of your application.
Implement Routing
Next.js uses file-based routing, where the folder structure in the /pages directory determines your routes. As you transition, ensure all routes in the legacy project are appropriately represented in the Next.js app.
Manage State
If the old project relied on global state management solutions like Redux or Context API, consider how this will translate. You can continue using these solutions in your Next.js app or explore alternatives like Zustand or Recoil for managing state effectively.
3. Setting Up the Backend
If the legacy application has a backend, consider whether it will be integrated into the new Next.js application or if you will create a separate backend service. A few considerations include:
API Routes: Next.js allows you to create API routes in the
/pages/apidirectory. This can help simplify the backend when moving to a serverless architecture.Microservices: For more extensive applications with multiple dependencies, you may want to look into microservice architecture. Decoupling different functionalities into standalone services can improve maintainability.
4. Database Migration
Transitioning your database will typically involve:
- Analyzing existing database schemas.
- Exporting data.
- Setting up a new database (if required).
- Writing migration scripts that can help automate the transfer of data while ensuring integrity.
Consider leveraging ORMs like Prisma or Sequelize with Next.js for an efficient database interaction experience.
5. Authentication and Authorization
In a SaaS application, security is paramount. Evaluate how users authenticated in the legacy application and look for similar approaches in the Next.js ecosystem:
- NextAuth.js: This library offers a flexible and secure solution for handling authentication in Next.js applications.
- Manage user roles and permissions carefully, potentially transitioning to more modern systems that ensure better security.
6. Testing the New Application
Before going live, conduct thorough testing on the new Next.js application. This includes:
- Unit Testing: Ensure that each component and utility function works as expected.
- Integration Testing: Validate that different parts of the application work together seamlessly.
- User Acceptance Testing (UAT): Gather a select group of users to test and provide feedback before the public launch.
7. Optimize for Performance
Once the new application is ready, use tools like Lighthouse and Web Vitals to assess and optimize the performance. Factors such as image optimization, caching strategies, and static site generation (SSG) can all play critical roles in improving user experience.
8. Deployment
Deploy your application using a cloud provider that supports Next.js. Common options include Vercel, Netlify, or even traditional hosting solutions updated to handle Next.js architecture.
Conclusion
Transitioning a legacy project to a Next.js SaaS application can be complex but incredibly rewarding. The improvements in performance, scalability, and developer experience can position your product for long-term success. By carefully assessing your current environment, breaking down the migration process into manageable steps, and paying close attention to user feedback and experience, you're more likely to develop a modern web application that meets the needs of today's users.
Remember that every project is unique, and there’s no one-size-fits-all when it comes to migration. Approach the transition with flexibility and a focus on continuous improvement. Happy coding!
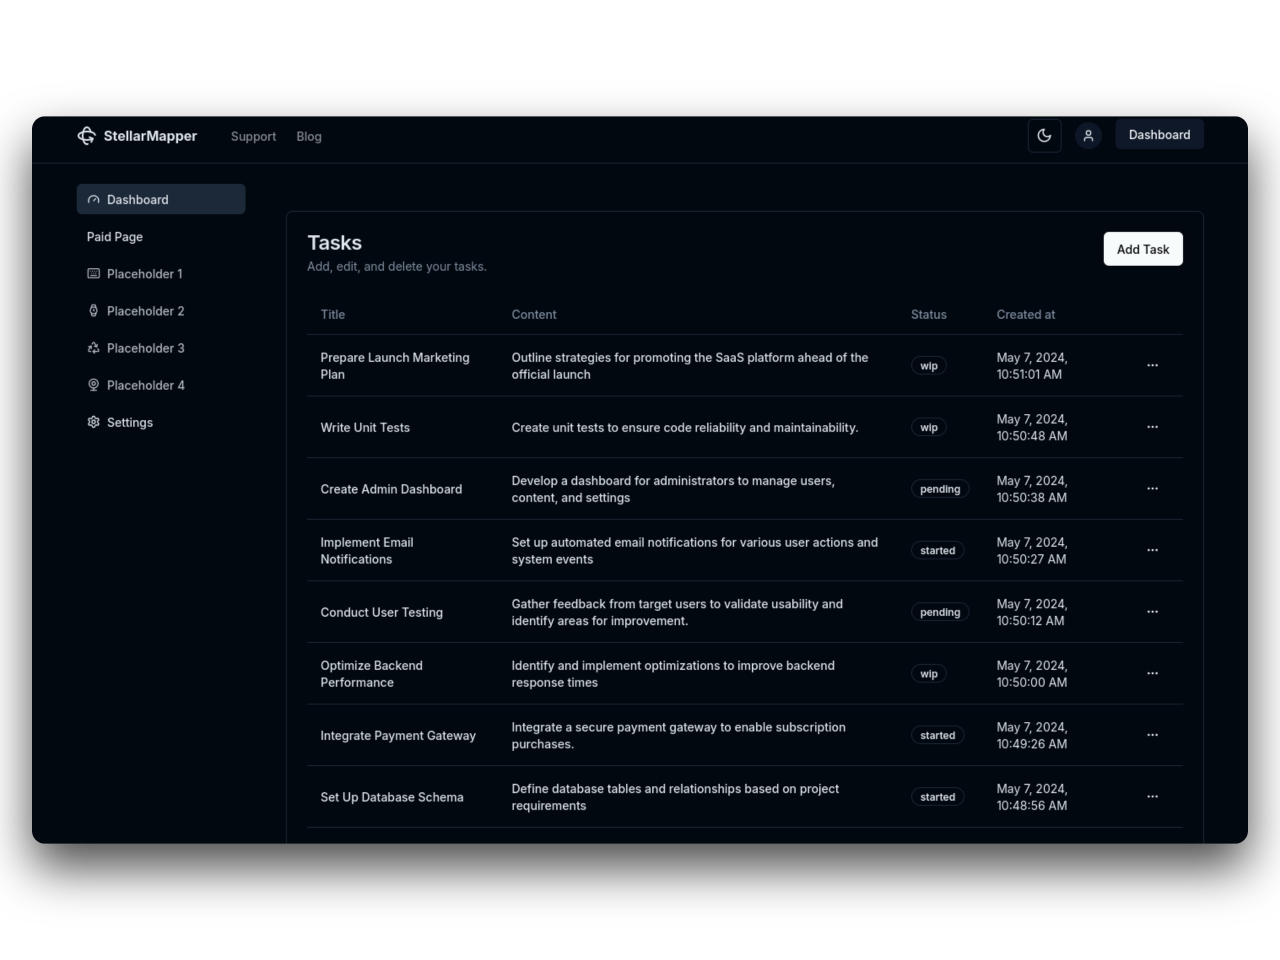
31SaaS
NextJs 14 boilerplate to build sleek and modern SaaS.
Bring your vision to life quickly and efficiently.