Planning Your MVP with Next.js Framework
In the fast-evolving tech landscape, launching a Minimum Viable Product (MVP) rapidly and efficiently can significantly influence your startup's success. An MVP is the most basic version of your product that still delivers value to early adopters and allows you to gather feedback for future iterations. In this blog post, we will discuss how to effectively plan your MVP using the Next.js framework, a powerful tool that can streamline the development process for web applications.
What is Next.js?
Next.js is a React-based framework that enables developers to create server-rendered, statically generated, or hybrid applications using React. It has gained immense popularity due to its simplicity, performance optimization, and built-in features such as routing, API handling, and server-side rendering (SSR). These features make it an ideal choice for building an MVP, allowing you to focus more on functionality than on setup.
Why Use Next.js for Your MVP?
1. Speed of Development
Next.js is designed for simplicity and ease of use. With built-in routing and fast refresh capabilities, developers can rapidly prototype and iterate on their MVP. You can define pages simply by placing files in a directory, which accelerates the development process significantly.
2. Server-Side Rendering (SSR)
One of the standout features of Next.js is its support for server-side rendering. SSR enhances the performance and SEO of your application, crucial components for attracting initial users to your MVP. With SSR, your pages are pre-rendered, ensuring they load quickly and are easily indexed by search engines.
3. Static Site Generation (SSG)
For projects that don’t require dynamic rendering for every page, Next.js allows you to generate static pages at build time, delivering ultra-fast performance and improved scalability. This is particularly beneficial for landing pages and content that doesn’t change often.
4. API Routes
Next.js simplifies backend logic by allowing you to create API routes directly within your project. This feature enables you to set up a backend for your MVP with minimal overhead, making it easy to develop and test functionalities such as user authentication and data storage.
5. Excellent Community Support
As a widely-used framework, Next.js has a thriving community and extensive documentation, meaning you’ll have access to a wealth of resources and libraries to assist you in your development efforts.
How to Plan Your MVP using Next.js
When planning your MVP, a methodical approach is key to ensuring that your project remains focused on core functionalities while allowing room for iterations. Here’s a step-by-step guide on how to proceed:
Step 1: Define Your Core Value Proposition
First, determine the primary problem your MVP aims to solve. Identify your target audience and clarify the unique value your product will provide. This definition will guide further development decisions.
Step 2: Outline Essential Features
List out the must-have features that align with your value proposition. Don't get sidetracked by “nice-to-have” functionalities; prioritize features that will allow users to fulfill the primary goals you've set. For example:
- User Registration/Login
- Dashboard for User Analytics
- Primary Functionalities relevant to your service
Step 3: Create Wireframes and User Flow
Visualize the user experience by creating wireframes of your MVP. This step is crucial for understanding how users will navigate through the application. Outline user flows to show how a user would engage with various elements of your MVP.
Step 4: Set Up Your Development Environment
With Next.js, setting up your development environment is straightforward. Create a new Next.js application by running the following command in your terminal:
bash npx create-next-app@latest my-mvp
Follow prompts to name your application and select your preferences, then dive into coding!

### Step 5: Start Building

#### 5.1 Establish Project Structure

Organize your Next.js application’s file structure early on. Separate your components, pages, styles, and API routes logically to ensure maintainability:
/my-mvp /components /pages /public /styles /api /utils
#### 5.2 Implement SSR and SSG Where Necessary

Determine which pages will benefit from server-side rendering or static site generation. Utilize `getServerSideProps` for dynamic data that must be rendered at request time and `getStaticProps` for pages that can be cached for better performance.

#### 5.3 Build API Routes

Create API routes to handle backend functionalities. For instance, you can create a new file under the `/api` directory for user authentication.

```javascript
// pages/api/login.js
import { connectToDatabase } from '../../utils/database';

export default async function handler(req, res) {
  const db = await connectToDatabase();
  // Logic for user login
}
Step 6: Test and Iterate
Regular testing is essential for any MVP. Take the time to conduct usability tests to gather feedback from early users. Use this feedback to refine your product, adding additional features based on the needs of your community.
Step 7: Launch and Gather Feedback
Once your MVP is functional and tested, it’s time for launch. Leverage social media, product forums, and your personal network to spread the word. Collect user feedback to inform next steps, which will guide the iterative development of your MVP.
Conclusion
Launching a successful MVP is about balancing speed with quality. With the Next.js framework, you can significantly streamline the development process, allowing you to create a functional product that addresses the needs of your target market. By focusing on core features, embracing modern web practices, and being open to user feedback, you can build an MVP that sets the stage for your future product's success.
Happy coding!
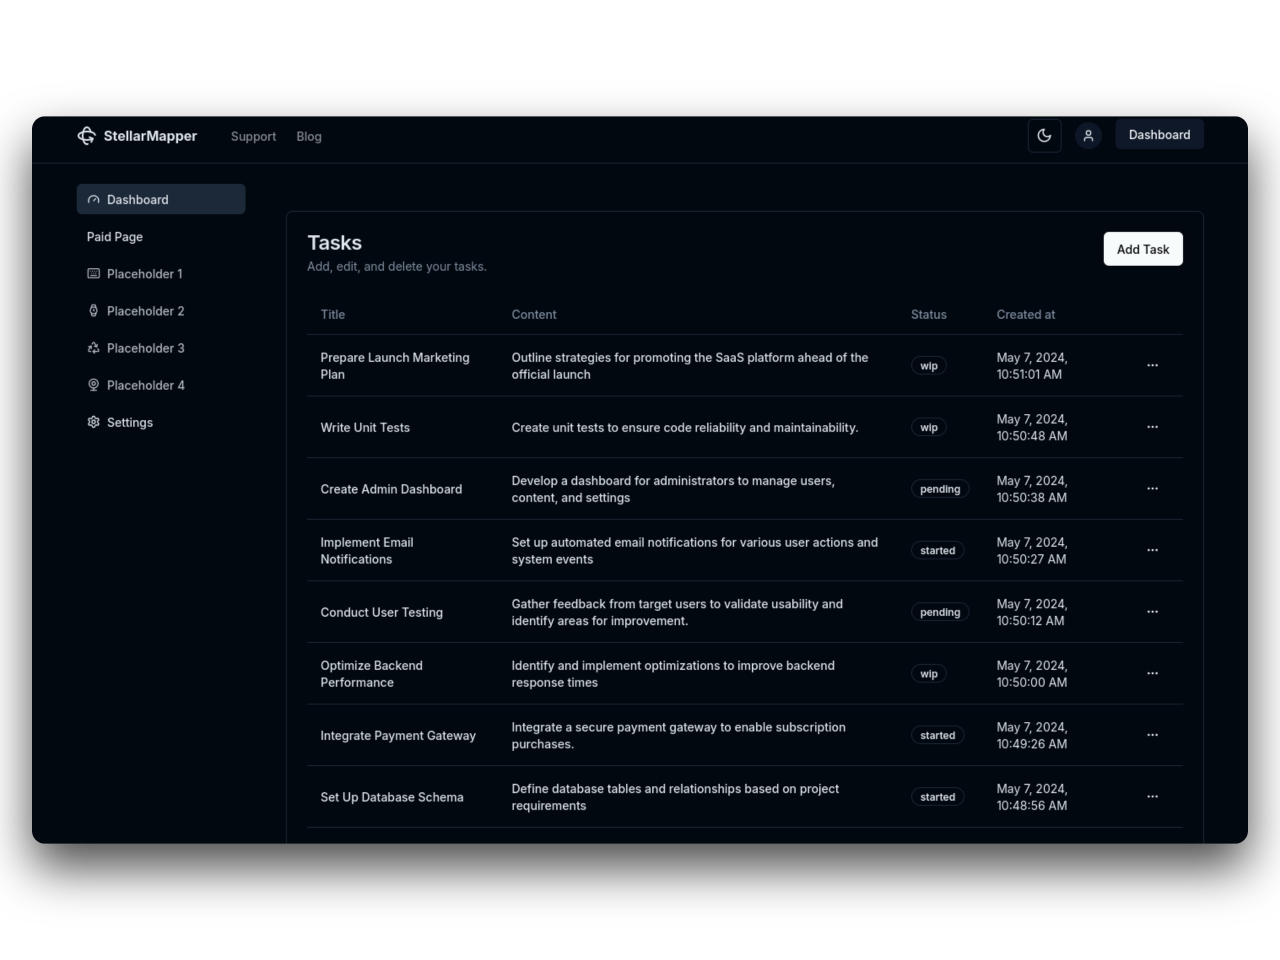
31SaaS
NextJs 14 boilerplate to build sleek and modern SaaS.
Bring your vision to life quickly and efficiently.