Leveraging APIs with Next.js for Your SaaS App
In today’s digital landscape, the demand for scalable and efficient web applications continues to rise. If you’re building a Software as a Service (SaaS) application, choosing the right framework and architecture is critical. Next.js, a robust React framework, excels in providing a seamless experience for server-side rendering (SSR), static site generation (SSG), and API route handling. This blog post will explore how to effectively leverage APIs with Next.js to enhance the functionality and scalability of your SaaS application.
Understanding Next.js
Before diving into API integration, let’s briefly discuss what Next.js is. Next.js is a React framework that enables developers to build static and server-rendered applications easily. Its core features include:
- Server-side rendering (SSR) and static site generation (SSG).
- API routes for building and handling backend routes.
- File-system based routing for easy page organization.
- Automatic code splitting for improved performance.
These features make Next.js an excellent choice for SaaS applications that require rich user interfaces, fast loading times, and robust API integrations.
Why Use APIs in Your SaaS Application?
APIs (Application Programming Interfaces) allow different software applications to communicate and share data. For SaaS applications, APIs can be used for various purposes:
- Data Retrieval: Fetch data from a database or external services.
- User Authentication: Enable user login, registration, and management.
- Payment Processing: Integrate payment gateways to handle transactions.
- Third-party Integrations: Connect with other services, such as CRM systems, email marketing platforms, etc.
Leveraging APIs can help you create a more interactive and dynamic experience for your users while maintaining a clean separation of concerns in your application architecture.
Setting Up Your Next.js Project
To get started, first, ensure that you have Node.js installed on your machine. You can then create a new Next.js application using the following command:
npx create-next-app@latest my-saas-app
cd my-saas-app
This command sets up a new Next.js project in a folder named my-saas-app.
Creating API Routes in Next.js
Next.js simplifies backend development by allowing you to create API routes. Any file you place in the pages/api directory will be treated as an API endpoint. Let’s create a simple API route for user authentication as an example.
Create a new folder under
pages/api:mkdir pages/api/usersInside this folder, create a file named
login.js:
// pages/api/users/login.js

import { users } from '../../../data/users'; // Example user data

export default async function handler(req, res) {
  if (req.method === 'POST') {
    const { username, password } = req.body;

    // Simulate user authentication
    const user = users.find(
      (user) => user.username === username && user.password === password
    );

    if (user) {
      // Return user info on successful login
      res.status(200).json({ message: 'Login successful', user });
    } else {
      res.status(401).json({ message: 'Invalid credentials' });
    }
  } else {
    // Handle other methods (e.g., GET)
    res.setHeader('Allow', ['POST']);
    res.status(405).end(`Method ${req.method} Not Allowed`);
  }
}
In this route, we handle POST requests for user login by checking provided credentials against a mock user data array. In a real application, you’d replace this with a database query.
Calling API Routes from Your Next.js Components
Once you have your API routes set up, the next step is to call these routes from your React components. Here’s an example of how you can implement a simple login form that interacts with your API:
- Create a new component named
LoginForm.jsin thecomponentsdirectory:
// components/LoginForm.js

import { useState } from 'react';

const LoginForm = () => {
  const [username, setUsername] = useState('');
  const [password, setPassword] = useState('');
  const [message, setMessage] = useState('');

  const handleSubmit = async (e) => {
    e.preventDefault();
    const res = await fetch('/api/users/login', {
      method: 'POST',
      headers: {
        'Content-Type': 'application/json',
      },
      body: JSON.stringify({ username, password }),
    });

    const data = await res.json();
    setMessage(data.message);
  };

  return (
    <form onSubmit={handleSubmit}>
      <input
        type="text"
        placeholder="Username"
        value={username}
        onChange={(e) => setUsername(e.target.value)}
        required
      />
      <input
        type="password"
        placeholder="Password"
        value={password}
        onChange={(e) => setPassword(e.target.value)}
        required
      />
      <button type="submit">Login</button>
      {message && <p>{message}</p>}
    </form>
  );
};

export default LoginForm;
- Now, use this component in one of your pages, for example in
pages/index.js:
// pages/index.js

import LoginForm from '../components/LoginForm';

export default function Home() {
  return (
    <div>
      <h1>Welcome to My SaaS Application</h1>
      <LoginForm />
    </div>
  );
}
With this setup, when users submit the login form, it will call the API endpoint we created, and the response will be displayed accordingly.
Enhancing Your Application with Authentication and State Management
In a real-world SaaS application, you will need to implement more robust authentication and state management. Here are a few considerations:
1. Authentication
For session management, consider using libraries like NextAuth.js, which integrates easily with Next.js and supports various authentication providers.
2. State Management
Managing application state can become complex as your app grows. Utilize state management libraries such as Redux or Context API to handle global state efficiently.
3. Error Handling
Implement robust error handling both at the API level and within your React components. Ensure that detailed error messages are returned from the APIs for easier debugging.
4. Caching and Performance Optimization
Consider implementing caching strategies for your API responses to minimize load times and improve performance. Libraries such as React Query or SWR can help manage data fetching and caching elegantly.
Deploying Your Next.js SaaS Application
Once you have built your application, deploying it to a platform like Vercel or Netlify is straightforward. Both these platforms have excellent support for Next.js applications and offer additional features such as serverless functions, custom domains, and more.
Deployment Steps:
- Push your code to a Git repository (e.g., GitHub).
- Sign up or log in to Vercel.
- Import your project from GitHub.
- Configure environment variables if necessary.
- Deploy your SaaS application.
Conclusion
Leveraging APIs with Next.js provides a powerful way to build a dynamic and efficient SaaS application. With its built-in API routes and seamless integration with React, Next.js can help you create a robust and maintainable architecture.
By focusing on user experience, security, and performance through best practices, you’ll be well on your way to creating a highly functional SaaS application. Remember, the key to success lies not just in building an application, but in continuously learning and adapting to the changing needs of your users.
Happy coding!
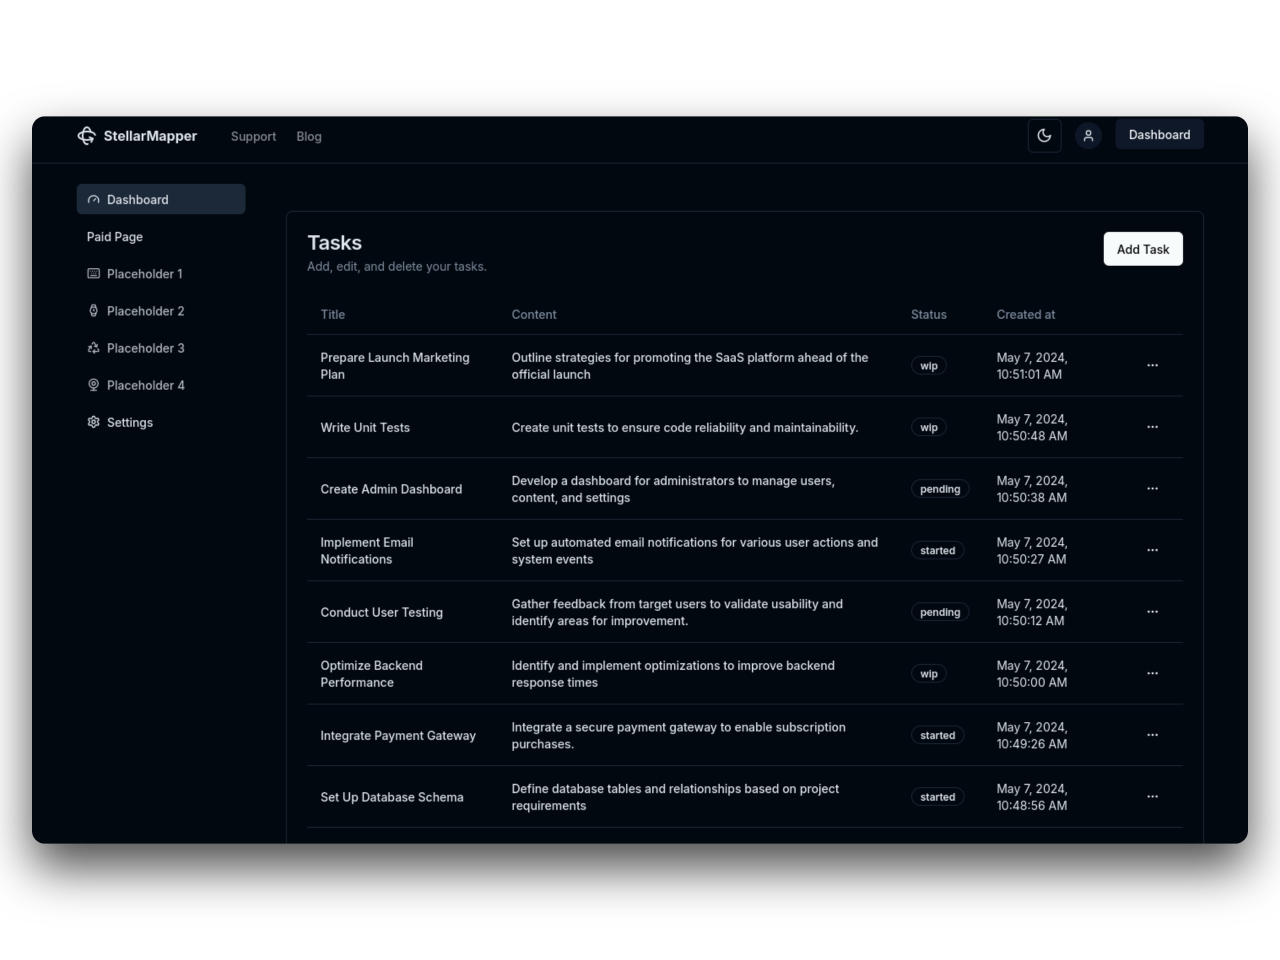
31SaaS
NextJs 14 boilerplate to build sleek and modern SaaS.
Bring your vision to life quickly and efficiently.