Kickstart Your SaaS Project with a Next.js Boilerplate
Kickstart Your SaaS Project with a Next.js Boilerplate
Building a Software as a Service (SaaS) application can be a daunting endeavor, especially when it comes to the foundational setup. However, the right tools complemented by a well-structured architecture can significantly simplify the initial stages of your project. Among the various frameworks available, Next.js has garnered significant attention for its performance, flexibility, and developer experience. In this blog post, we will explore how you can kickstart your SaaS project using a Next.js boilerplate.
Why Choose Next.js for Your SaaS Project?
Before diving into the boilerplate aspect, let’s discuss why Next.js is a top choice for developing SaaS applications:
1. Server-Side Rendering (SSR)
Next.js enables server-side rendering, which allows your application to render pages on the server rather than in the browser. This feature improves SEO performance and loads pages faster, contributing to an enhanced user experience.
2. Static Site Generation (SSG)
Next.js also supports static site generation, allowing you to pre-render pages at build time. This is particularly beneficial for landing pages or content-heavy sections of your SaaS, which can drastically reduce load times.
3. API Routes
Building a complete SaaS app usually involves backend logic for features like user authentication, data storage, and integrations. Next.js provides API routes, which simplifies the way you handle serverless functions and APIs without the need for an additional server.
4. Built-in CSS Support
Next.js has built-in support for CSS Module and styled-components, making it easier to manage your styles without cluttering global stylesheets.
5. Rapid Development
Thanks to its file-based routing, automatic code splitting, and other features, Next.js can significantly speed up the development process. This means you can focus more on creating a functional application rather than getting bogged down by configurations.
What is a Boilerplate?
A boilerplate is a code template or a ready-made project structure that includes common components and configurations. Utilizing a boilerplate means you don’t have to start from scratch, allowing you to focus on building unique features specific to your application.
Getting Started with a Next.js Boilerplate
Step 1: Setting Up Your Next.js Environment
The first step is to set up your development environment. You’ll need Node.js version 12.22.0 or later. If you haven’t installed Node.js yet, you can download it from the official website.
Once Node.js is installed, create a new Next.js app using the following command:
npx create-next-app your-saas-app
This command creates a new directory named your-saas-app with a basic Next.js setup.
Step 2: Select a Boilerplate
While we will not promote any specific boilerplate, there are numerous Next.js boilerplate repositories available on GitHub tailored for SaaS applications. When selecting a boilerplate, consider the following factors:
- Authentication Mechanisms: Look for support for user authentication (e.g., JWT, OAuth).
- Database Integration: Ensure it offers seamless database connection options, such as MongoDB or PostgreSQL.
- State Management: If your application has complex state, a boilerplate with built-in Redux or Context API can help.
- Deployment Considerations: Choose a boilerplate that provides configurations for Vercel, Netlify, or other cloud platforms.
Clone the chosen boilerplate repository to your local machine:
git clone [boilerplate-repository-url]
cd your-saas-app
Then install the necessary dependencies:
npm install
Step 3: Configure Your Environment Variables
Most SaaS applications require environment variables for sensitive data, such as API keys or database connection strings. Create a .env.local file in the root of your project and define your variables there:
DATABASE_URI=mongodb://your-db-url
JWT_SECRET=your-jwt-secret
Be sure to reference these variables in your code securely.
Step 4: Database and API Setup
After setting up your environment variables, you can focus on the backend part. Depending on the boilerplate you choose, you may have predefined API routes to manage data operations. If not, define your API routes under the pages/api directory.
For example, you could create a basic API for user registration as follows:
// pages/api/register.js

import dbConnect from '../../utils/dbConnect';
import User from '../../models/User';

export default async function handler(req, res) {
    await dbConnect();

    if (req.method === 'POST') {
        const { username, password } = req.body;

        const user = new User({ username, password });
        await user.save();

        return res.status(201).json(user);
    }
    res.setHeader('Allow', ['POST']);
    res.status(405).end(`Method ${req.method} Not Allowed`);
}
Step 5: Building the User Interface
Next.js uses a component-based structure, making it simple to build reusable components. Leverage libraries like Tailwind CSS or Material UI to enhance your application’s UI without spending too much time on styling.
Create components for your UI, such as a header, footer, and form elements. Place these under a separate folder, e.g., components.
Step 6: Implement Authentication
User authentication is a fundamental aspect of any SaaS application. Depending on your boilerplate, authentication may already be included. Otherwise, consider using libraries like NextAuth.js to handle authentication seamlessly.
Step 7: Testing Your Application
Once you’ve set up core functionality and UI, don’t forget to test your application thoroughly. Next.js supports various testing frameworks like Jest and React Testing Library. Setting up a suite of tests can help ensure your application remains robust as you add features.
npm install --save-dev jest @testing-library/react
Step 8: Deploy Your Application
After testing, it’s time to deploy your SaaS application. Vercel, the creators of Next.js, provide an excellent platform for deploying Next.js applications with minimal configuration. You can also explore deployment options on platforms like Netlify or your dedicated cloud provider.
Conclusion
Kicking off a SaaS project can seem overwhelming, but by utilizing a Next.js boilerplate, you can set a solid foundation for your application. Next.js provides powerful features such as SSR, SSG, and API routes, allowing for flexibility and performance.
As you embark on your SaaS journey, remember that while boilerplates are valuable starting points, the real magic happens when you integrate your unique ideas and innovations into your application. So download a boilerplate, customize it, and start building something great!
Happy coding!
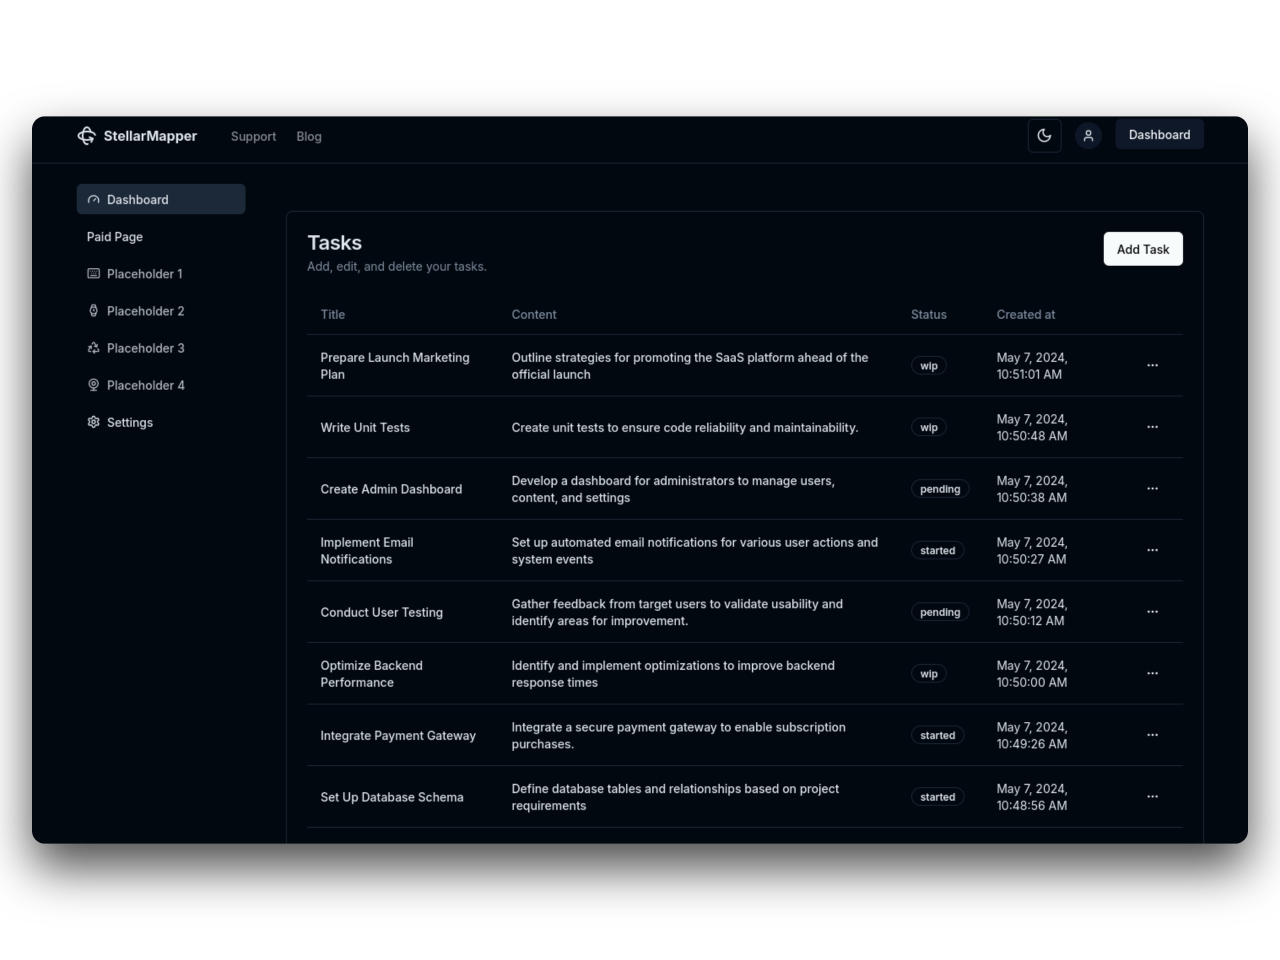
31SaaS
NextJs 14 boilerplate to build sleek and modern SaaS.
Bring your vision to life quickly and efficiently.