Converting Ideas into Products with Next.js
In today's fast-paced digital world, the ability to swiftly convert ideas into fully functional products is paramount. Next.js, a React-based framework, has gained a reputation for enabling developers to create efficient, scalable, and high-performing applications. This blog post delves into the process of transforming an idea into a tangible product using Next.js, exploring its features, advantages, and the steps involved.
Why Choose Next.js?
Before diving into the process, let’s highlight why Next.js has become a popular choice among developers:
1. Server-Side Rendering (SSR)
Next.js allows developers to pre-render pages on the server-side, delivering HTML to the user faster and improving SEO. This makes it ideal for content-heavy applications and marketing sites where search engine visibility is critical.
2. Static Site Generation (SSG)
With Next.js's static site generation, developers can generate static HTML pages at build time. This results in faster load times and better performance, especially for sites that do not require real-time updates.
3. API Routes
Next.js allows you to create API endpoints within the application. This built-in feature makes it easy to handle backend logic without needing a separate backend.
4. File-Based Routing
The file-based routing system of Next.js simplifies the organization of pages, making it effortless to add new routes based on the folder structure.
5. Developer Experience
Next.js boasts superb developer experience with features like hot reloading, automatic code splitting, and easy CSS support. This allows for efficient development and quick iterations.
6. Community and Ecosystem
Next.js has a vibrant community and a rich ecosystem of plugins and tools that enhance its capabilities. This means there’s a wealth of resources and packages available to speed up your development process.
Steps to Convert Ideas into Products Using Next.js
Step 1: Ideation and Planning
The first step is to clearly define your idea. Outline what problem your product will solve, identify your target audience, and consider the features that would make your product stand out.
- Conduct Market Research: Understand the competition and get insights into what potential users want.
- Create User Personas: Define who will use your product. This will help in tailoring your features.
Step 2: Prototyping
Once you have a clear idea, start prototyping. You can use tools like Figma or Adobe XD to create wireframes and mockups.
- Define User Flow: Map out how users will navigate through your application.
- Gather Feedback: Share the prototype with potential users and iterate based on their feedback.
Step 3: Setting Up Your Next.js Environment
After finalizing the design, it's time to set up your development environment. Here’s how to get started:
- Install Node.js (if you haven't already) - Next.js runs on Node.js.
- Create a Next.js App:
npx create-next-app your-project-name
cd your-project-name
Step 4: Develop Your Application
Now comes the coding phase where your idea starts to take shape. Here’s a recommended approach:
- Create Components: Build reusable React components based on your wireframes.
- Implement Routing: Use the Next.js file-based routing to define your application’s routes.
- Add API Routes: If your product requires data fetching, use Next.js API routes to manage your backend logic.
// pages/api/hello.js
export default function handler(req, res) {
  res.status(200).json({ name: 'John Doe' });
}
- Utilize Global Styles: Use CSS or a CSS-in-JS library like styled-components to style your application as per your design.
Step 5: Optimize Performance
Once your app is built, focus on optimizing its performance:
- Code Splitting: Next.js automatically splits your code for faster loading times.
- Image Optimization: Use the
next/imagecomponent to serve optimized images. - SEO Best Practices: Take advantage of head management with the
next/headcomponent to enhance your SEO.
Step 6: Testing
Testing is crucial for any product. Implement unit testing and integration testing to ensure your application behaves as expected.
- Use Testing Libraries: Libraries like Jest and React Testing Library are great for testing React components.
- Real User Testing: Engage actual users to test the application and gather feedback.
Step 7: Deployment
Once your application is ready and tested, it's time to deploy. Follow these steps:
- Choose a Hosting Provider: Vercel is the ideal hosting solution for Next.js applications, but platforms like Netlify, AWS, or DigitalOcean also support Next.js.
- Deployment Command:
npm run build
npm run start
Step 8: Gathering Feedback and Iteration
Launch your product and start gathering user feedback. Analyze user interactions, identify areas for improvement, and iterate on your product.
- User Analytics: Utilize tools like Google Analytics or Mixpanel to analyze traffic and user behavior on your application.
Step 9: Scaling
Once your product sees traction, consider how you can scale your application. Expand features, improve UI/UX, or enhance performance based on user feedback. Next.js provides excellent support for scaling applications efficiently.
Conclusion
Converting an idea into a product can be a challenging yet rewarding journey. With Next.js, developers have a powerful toolkit at their disposal that streamlines the process from conception to deployment. Its rich features allow you to focus on building great products while ensuring high performance and scalability.
By following the steps outlined in this blog post, you'll be well-equipped to turn your innovative ideas into successful products leveraging the power of Next.js. Remember, the key to success lies not just in the initial build but in continuous iteration and improvement based on user feedback. Happy coding!
31SaaS
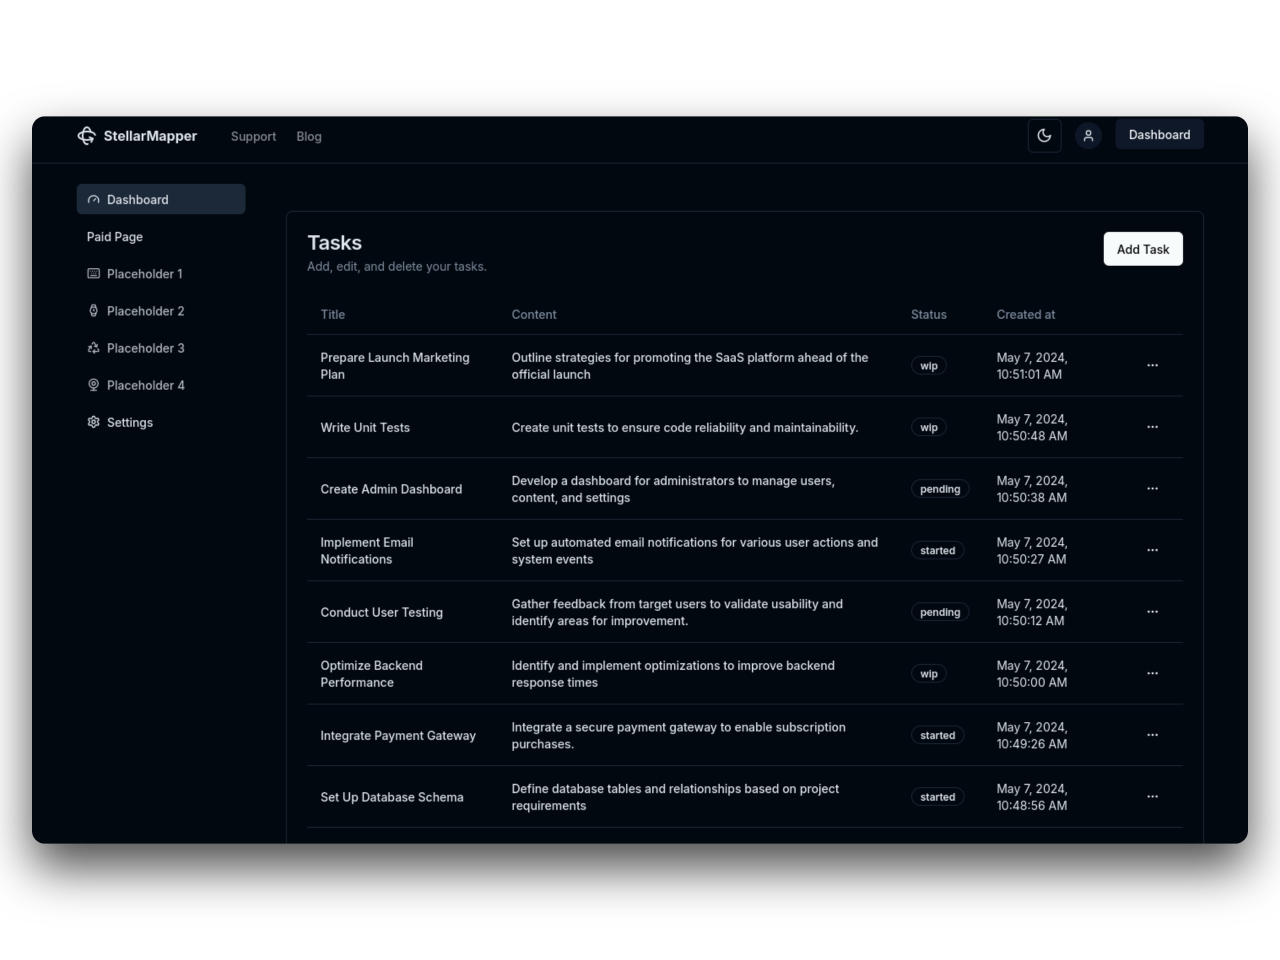
NextJs 14 boilerplate to build sleek and modern SaaS.
Bring your vision to life quickly and efficiently.